Project Overview
If you have a virtual server hosted on a hosting or dedicated server on a VPS then you are in the right place, in this guide you will learn how to install plesk in your Linux server which is an essential platform to manage your server, such as the following functions:
- Manage multiple servers from one control panel.
- Mail server management.
- DNS server management.
- Virtualization (OpenVZ).
- Configuration mirroring and clusters.
Important details:
I’m using Alma Linux 9, but feel free to choose any other Linux distribution , follow this link how to install Alma Linux.
To install Plesk, you'll need a license activation. Alternatively, you can use similar software like ISPConfig or Webmin.
Documentation
Check for OS updates and upgrade all dependency packages.
root# dnf update -y
Allow Ports access
Ensure that ports 8443, 8447 and 53 are open and configured to operate in listening mode,
allowing incoming connections for proper functionality.
Por default the port 53 for dns service is usually open.
root# netstat -tulnp

tcp        0      0 0.0.0.0:8443            0.0.0.0:*               LISTEN
tcp        0      0 127.0.0.1:53            0.0.0.0:*               LISTEN
tcp        0      0 127.0.0.1:8447          0.0.0.0:*               LISTEN
tcp        0      0 0.0.0.0:143             0.0.0.0:*               LISTEN
udp        0      0 217.154.10.114:53       0.0.0.0:*
tcp        0      0 0.0.0.0:8447            0.0.0.0:*               LISTEN
Make sure the Configuration of the firewall policy on your server:

Generate the Plesk license key
- Open the cloud panel.
- In Features, scroll down to the Plesk subsection.
- In the Plesk License Key field, generate the license key.
- Accept the action.
- Write down and reserve the license key.

Curl Installation
In generally, the cURL program is installed by default. If it is not, you can install it with the following commands:
CentOS, AlmaLinux and RockyLinux
# yum install curl
# rpm -qa | grep curlPlesk Installation
After installing the curl package we can now continue with the Plesk installation.
Write the following command
# sh <(curl https://autoinstall.plesk.com/one-click-installer || wget -O - https://autoinstall.plesk.com/one-click-installer)
After entering this command, the latest stable version of Plesk will be downloaded. This will be installed with the standard components and features. In addition, all available patches and updates will be installed.
Please be patient as the installation process may take more than 5 minutes.
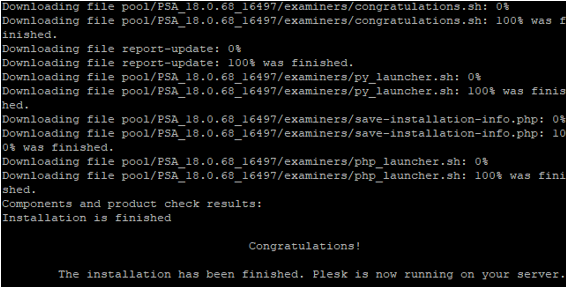
You should be recieve the following message as below:


First Login on Plesk
Congratulations if you have reached this step,
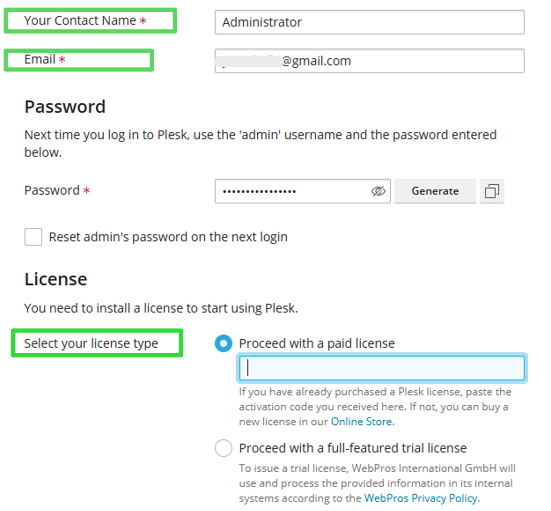
now you just need to configure the account with your data and enter the license key to be able to use the software.
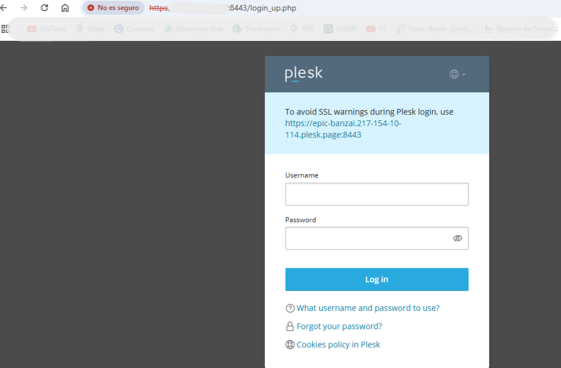
- Go to your navigator and type "https://Server IP:8443"
- Click on Advanced... and then click on Accept risk and continue.

Creating your account
You will be prompted to create your user name and password and enter the license key.

Once you've successfully completed the previous steps without any issues, you can log in to your Plesk platform and start managing your services seamlessly.
Results
Confirm the plesk service is active and running properly.
# systemctl status psa.service
Home page of plesk platform:
